

 English
  Español
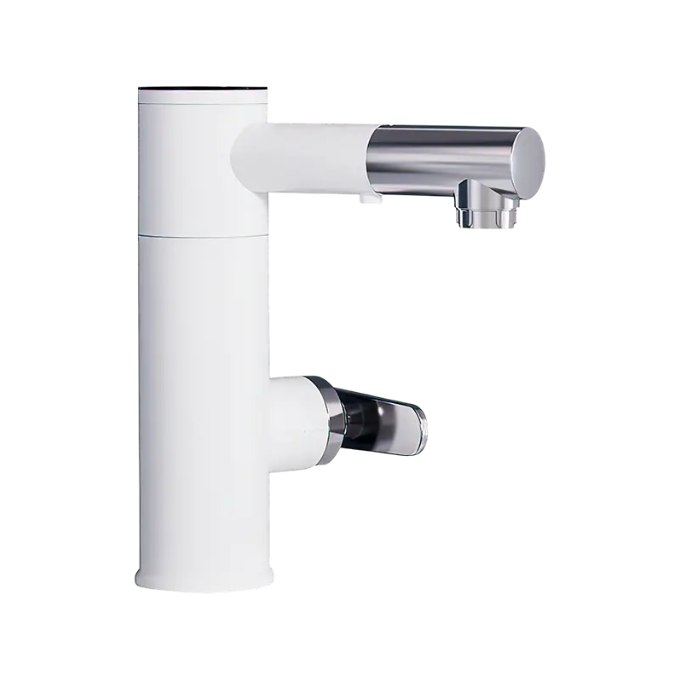
How To Install a Instant electric Bathroom faucet?
Date:2026-03-24
Content
Installing an instant electric bathroom faucet is a highly effective way to achieve point-of-use water heating, eliminating the wait for hot water from a central boiler. The process involves securing the faucet unit to the basin, connecting it to a cold-water supply line, and ensuring it is wired to a dedicated electrical circuit with proper grounding and GFCI (Ground Fault Circuit Interrupter) protection. Because these units combine water and high-wattage electricity, the most critical step is flushing the unit with water to remove air pockets before turning on the power to prevent burning out the heating element.
Pre-Installation Technical Requirements
Before beginning the physical installation, you must verify that your bathroom’s infrastructure can support the power demands of an instant heating unit. These devices typically operate at high amperages to heat water instantly as it flows through the internal chamber.
Electrical Specifications
Most standard instant electric faucets require a dedicated circuit. Unlike a standard lamp or charger, these units pull significant current. You should ensure your electrical panel has space for a 20-amp to 30-amp breaker depending on the kilowatt rating of the faucet. The wiring used must be rated for the specific load; typically, 12-gauge or 10-gauge copper wire is required.
Water Pressure Standards
Instant heaters rely on a pressure-activated switch. If your home's water pressure is too low (typically below 0.04 MPa), the heating element may not trigger. Conversely, if pressure is too high, a pressure-reducing valve might be necessary to protect the internal seals of the faucet.
| Component | Requirement | Safety Standard |
|---|---|---|
| Circuit Breaker | 20A - 32A | Dedicated Line Only |
| Wire Gauge | 2.5mm² - 4.0mm² | Copper Core |
| Water Pressure | 0.04 - 0.5 MPa | Pressure Valve Recommended |
| Ingress Protection | IPX4 | Splash Resistant |
Tools and Materials Checklist
Gathering the correct tools before you begin ensures the installation proceeds without interruptions. Since you are dealing with both plumbing and electrical systems, you will need a hybrid kit.
- Adjustable Wrench: For tightening the water supply nuts.
- Screwdriver Set: Both Phillips and flat-head for securing electrical terminals.
- Non-Contact Voltage Tester: To verify that the power is off before handling wires.
- Plumber's Tape (PTFE): To create a watertight seal on threaded connections.
- Wire Strippers: To prepare the electrical leads for the junction box.
- Level: To ensure the faucet is mounted perfectly upright.
Step-by-Step Mechanical Installation
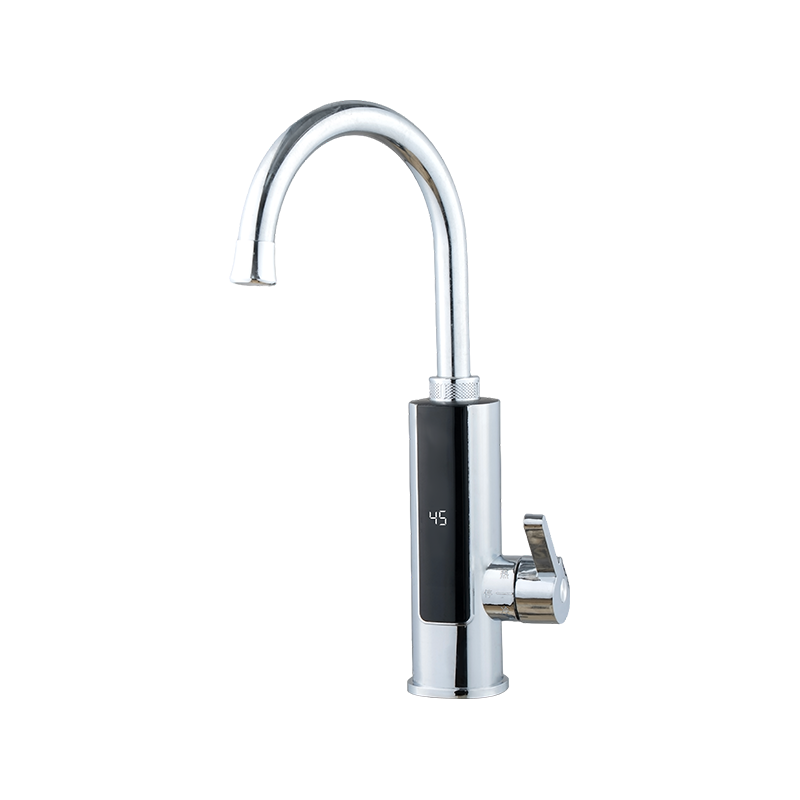
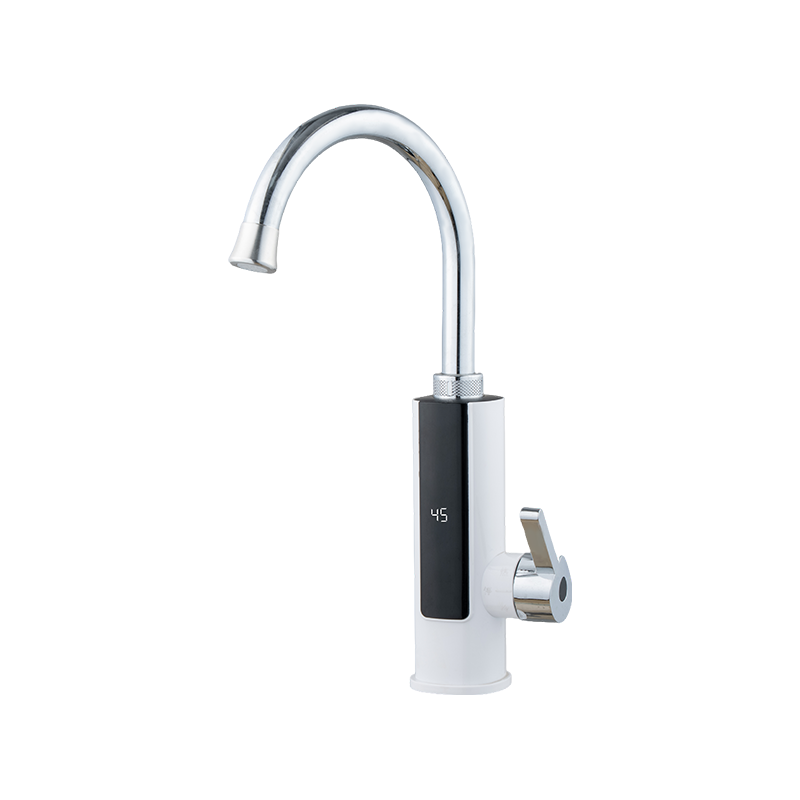
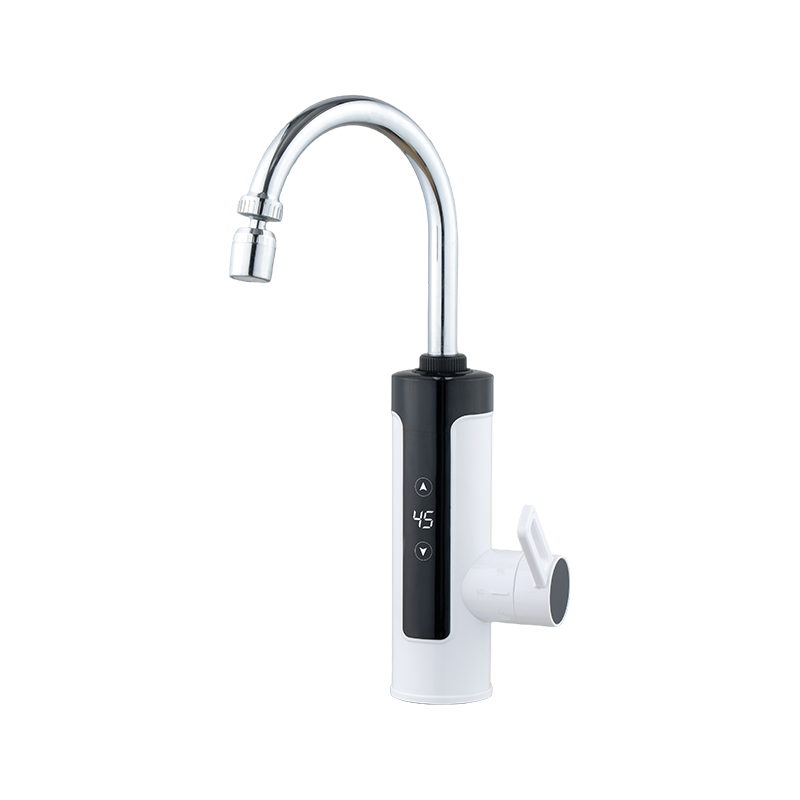
The physical mounting of the faucet is the first major phase. Unlike traditional faucets, the body of an instant electric faucet is usually larger because it contains the heating element and the flow-sensing electronics.
Removing the Old Faucet
Shut off the water valves under the sink. Open the old faucet to drain any remaining water. Use your adjustable wrench to disconnect the supply lines and remove the mounting nut holding the old unit in place. Thoroughly clean the surface of the sink or countertop to ensure the new gasket creates a hermetic seal.
Mounting the New Unit
Feed the electrical cable and the water inlet pipe through the hole in the sink. Place the rubber gasket between the faucet base and the sink to prevent water from leaking into the cabinet below. From underneath, slide the mounting nut and washer onto the shank and tighten by hand, then give it an extra quarter-turn with a wrench. Do not overtighten, as plastic threads on some units can strip or crack.
Plumbing Connections and Leak Testing
Instant electric faucets only require a single water connection—the cold water line. The heating happens inside the faucet, so you will no longer need the hot water valve under your sink if one exists.
Apply 3-4 wraps of PTFE tape to the threads of the faucet inlet. Connect the flexible braided supply hose from the cold water shut-off valve to the faucet. Ensure the hose is not kinked, as restricted flow can cause the heating element to overheat. Once connected, turn the water valve on slowly and inspect every joint for moisture. Crucially, turn the faucet handle to the "on" position (full cold, then full hot) and let the water run for at least 60 seconds. This purges all air from the internal heating chamber.
Electrical Wiring and Safety Grounding
This is the most sensitive part of the installation. If you are not comfortable working with high-voltage electricity, consult a licensed professional. Water and electricity are a dangerous combination if not handled with precision.
Wiring Procedures
Ensure the power at the main breaker is OFF. Run the faucet's power cable to a waterproof junction box located under the sink. The wiring usually follows a standard color code: Brown/Red (Live), Blue/Black (Neutral), and Green/Yellow (Ground). Use wire nuts or terminal blocks to secure the connections tightly. A loose connection can lead to arcing and heat buildup, which is a fire hazard.
The Necessity of Grounding
The Grounding Wire is your primary safety net. It ensures that in the event of a circuit failure, the current is directed safely to the earth rather than through the water stream or the user. Never bypass the ground wire or use a two-prong adapter for these devices.
Final Calibration and Testing
Once the plumbing is watertight and the electrical work is secured, you can restore power at the breaker. Follow this sequence for the first run:
- Turn on the water first and check the flow rate.
- Switch the power on at the wall or junction box.
- Slowly turn the faucet handle toward the hot setting. You should see the digital display (if equipped) begin to show a temperature rise.
- Adjust the flow rate; remember that in instant heaters, a slower flow typically results in hotter water because the water spends more time in contact with the heating element.
Maintenance and Troubleshooting
To keep your instant electric faucet operating efficiently, regular maintenance is required, especially in areas with hard water. Mineral deposits (scale) can coat the heating element, reducing efficiency and eventually causing failure.
- Aerator Cleaning: Unscrew the aerator at the tip of the spout every 3 months and rinse out any debris to maintain consistent water pressure.
- Descaling: If the heating becomes inconsistent, you may need to flush the unit with a citric acid solution to remove limescale.
- Safety Check: Periodically test your GFCI outlet or breaker to ensure the trip mechanism is still functional.
If the water is not getting hot, the first thing to check is the reset button. Many units have an internal thermal cut-off switch that trips if the unit gets too hot (usually due to air in the lines). Simply resetting this can often solve the issue without requiring a full disassembly.


NINGBO MAITENG ELECTRIC APPLIANCE CO., LTD. integrates production and sales. The company adopts a dual model of self-management and distribution sales.
- CONTACT INFO
-
NO.8 Yaobei Avenue,Simen Town, Yuyao City, Ningbo City, Zhejiang, China
-
 +86-159 5821 2132
-
 +86-574-62178444
-
 +86-159 5821 2132
-
 [email protected]
[email protected]
-
- SCAN IT
-
Mobile terminal

